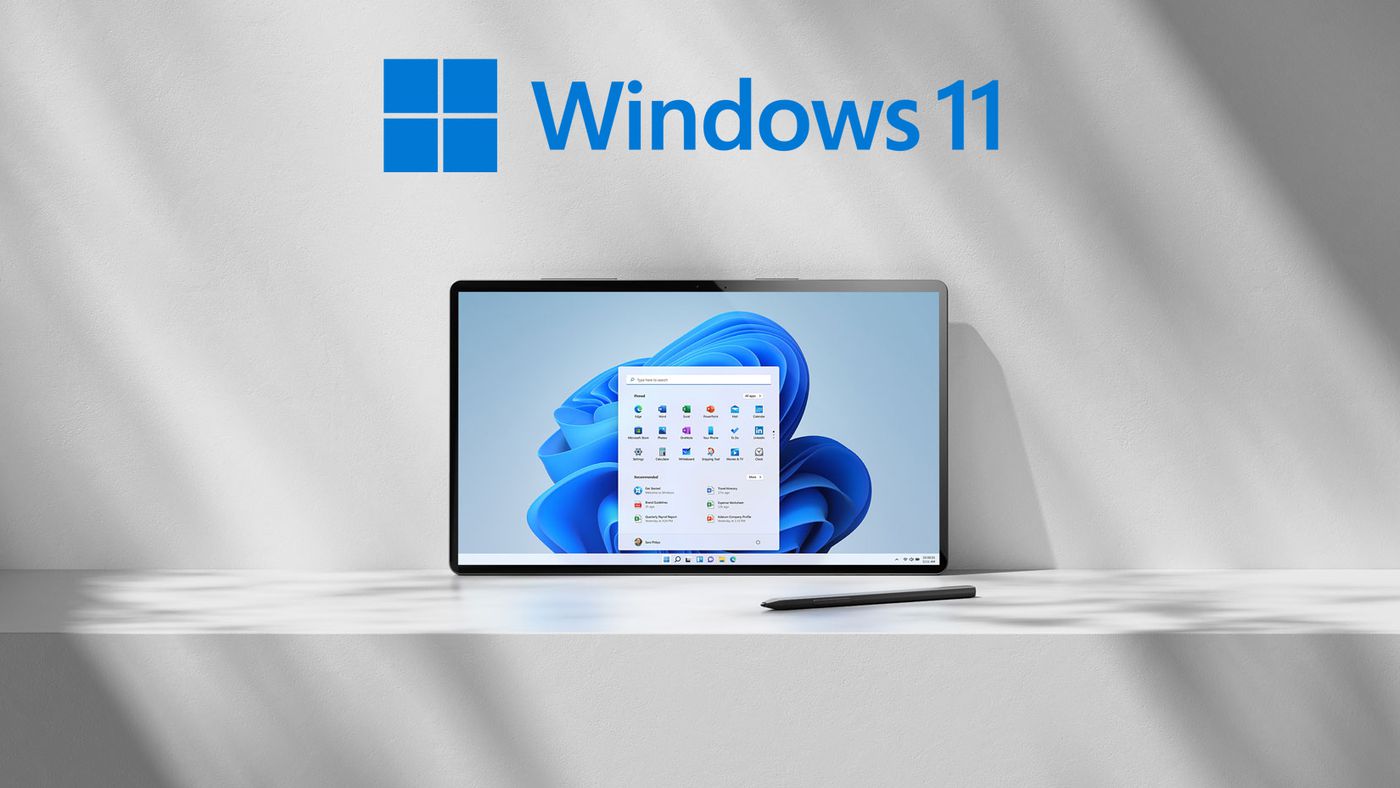
How to Enable Stickers on Windows 11
It has been a while since I sent off Windows 11, and Microsoft has been dealing with many new highlights. As of late, insider Albcore saw the work area foundation stickers on Windows 11. The component isn’t accessible presently as a matter of course; however, you can physically empower it. You must follow simple tasks to certify the work area foundation stickers. This article will examine how to enable stickers on Windows 11.
Nonetheless, the Windows 11 Version 22H2 has begun, yet they have guaranteed that it has arrived at the Released to Manufacturing (RTM) stage. You can add stickers to your Windows 11 work area through this component. That is the way to empower stickers on Windows 11. If your Windows 11 PC or PC is on form 22621 or fresher, you can assign this element without any problem.
Instructions to Enable Stickers on Windows 11
Before you go any further, you must ensure your PC or PC is on form 22621 or more up to date. If not, you could confront trouble in empowering the work area stickers highlight. It would help if you did this:
Stage 1: Open Start Menu on your PC or PC, then look for regedit and open the first application that surfaces.
Stage 2: Now follow the way cautiously that we will let you know on the left sheet,
NOTE: You can duplicate glue this into the location bar in Registry Editor.
Stage 3: Right-click on the Device index and afterwards select the New – > Key choice to make another library.
Stage 4: Once you have made another library, name it Stickers and double-tap it.
Stage 5: Now, on the correct sheet, right-click anyplace and pick New – > DWORD(32-bit) Value.
Stage 6: Name the worth EnableStickers and double tap on it.
Stage 7: Set the worth to 1 and snap OK. It would help if you restarted your PC or PC, after which you will want to see the choice to put a Sticker on the work area.
How to Add or Remove Stickers on Windows 11 Desktop?
Stage 1: Right-click on your work area where you need to add the sticker. Presently pick the Add or alter Stickers choice. You can likewise get to that by going to Settings – > Personalisation – > Background – > Choose Stickers for your work area.
Stage 2: Now, you will see Sticker Menu from where you can pick and add any sticker you need.
Stage 3: Scroll down or search stickers as per your inclination that you need to add to your work area.
Stage 4: After making your choice, you will see that sticker on the upper left corner of your screen. You should tap on the sticker to move it around or resize it.
Stage 5: For any explanation, to eliminate the sticker, you should tap on it while you are in the supervisor interface. A Trash Can symbol will show up on the lower part of the sticker click on it, and it will erase the sticker.
Als0 Read: How to Get Verified Badge on Twitch
Might you, at any point, Create or Add your Custom Stickers?
Concerning now, there is no choice accessible that will allow you to make or add your stickers for the work area. However, we can accept that when this element is accessible to everybody as a matter of course. Microsoft will likewise deliver a Custom Stickers highlight in later updates. In this way, we need to stand by till Microsoft gives any news.
Conclusion
Thus, this is the way you can empower stickers on Windows 11. Follow every one of the means to empower the component physically. A few clients could find it hard to assign the element on their Windows 11 PC or PC. Microsoft has been trying many more new parts, and soon we can see some of them. We will inform you when we get anything on the most recent Windows 11 features.
For additional fascinating articles, remain tuned to futurestock.